How to Create High-Quality Reels: A Step-by-Step Guide
Introduction: Why Reels Are Essential for Your Business
- Increase Visibility: Instagram’s algorithms favor Reels, showing them to more users.
- Engage Your Audience: Creative and interesting videos capture and hold user attention.
- Showcase Products: The video format allows you to visually demonstrate the benefits and usage of your product or service.
- Build Trust: Reels featuring employees or customers make your brand more human and relatable.
Step 1: Choosing a Theme
The theme of your Reels should be interesting and relevant to your audience. Popular themes include:
- Behind the Scenes: Show the process of creating your product.
- Trends and Challenges: Participate in current trends and challenges.
- Tutorials: Share useful tips and how-tos.
Recommendations:
- Research Trends: See what’s popular among your target audience.
- Analyze Competitors: Learn from those who are already successful.
Step 2: Planning
Planning helps structure your Reels and make them more professional.
- Goal: Determine what you want to achieve (increase reach, engagement, etc.).
- Content: Write down the key points you want to cover.
- Duration: Reels should be short and concise, no longer than 60 seconds.
Recommendations:
- Create a storyboard: Draw a sketch for each frame.
- Prepare props and costumes: Ensure everything is ready for the shoot.
Step 3: Script
Write a detailed script for your Reels.
- Introduction: Capture attention in the first few seconds, for example, with a striking visual scene or a question.
- Main Content: Present key points in a logical sequence.
- Conclusion: End the video with a call to action (e.g., “Follow us for more content”).
Recommendations:
- Be brief and clear: Every word should count.
- Practice in front of the camera: Rehearse your script to appear natural.
Step 4: Shooting
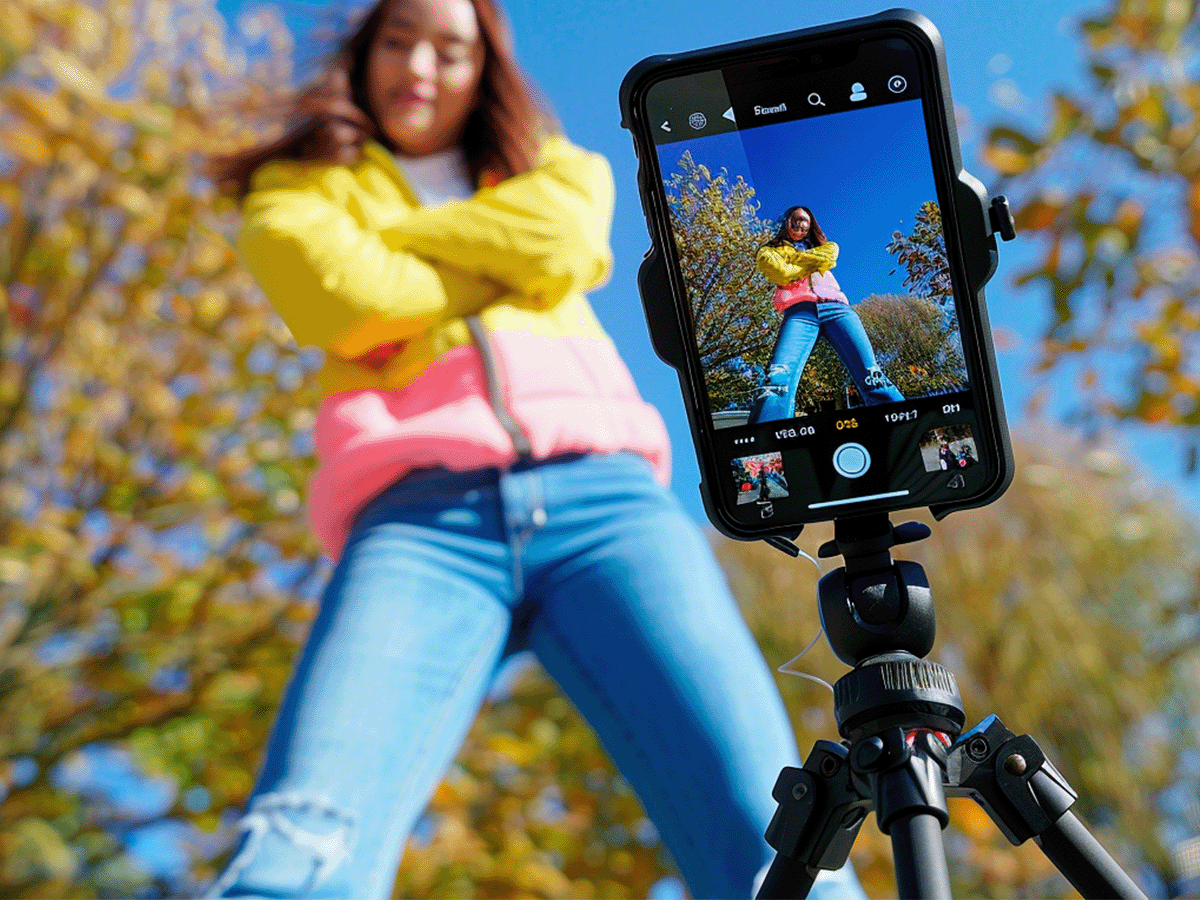
Use modern smartphones with excellent cameras. Here are some tips and tools for shooting:
- Lighting: Shoot in good natural light or use a ring light.
- Stabilization: Use a tripod or stabilizer (e.g., DJI Osmo Mobile).
- Sound Quality: Use an external microphone if your Reels include speech (e.g., Rode VideoMic Me-L).
Recommendations:
- Shoot in 4K: This allows you to crop and zoom without losing quality.
- Use slow motion or time-lapse: These effects can add dynamism to your videos.
Step 5: Editing
After shooting, it’s important to edit the material well. Here are some apps for editing on your smartphone:
- VN: Simple interface with many features for professional editing.
- CapCut: Free app with advanced editing features and effects.
Recommendations:
- Add music and sound effects: This brings your Reels to life.
- Use transitions and filters: To create smooth transitions between scenes.
Step 6: Design and Layout
- Branding: Incorporate elements of your brand (logo, colors).
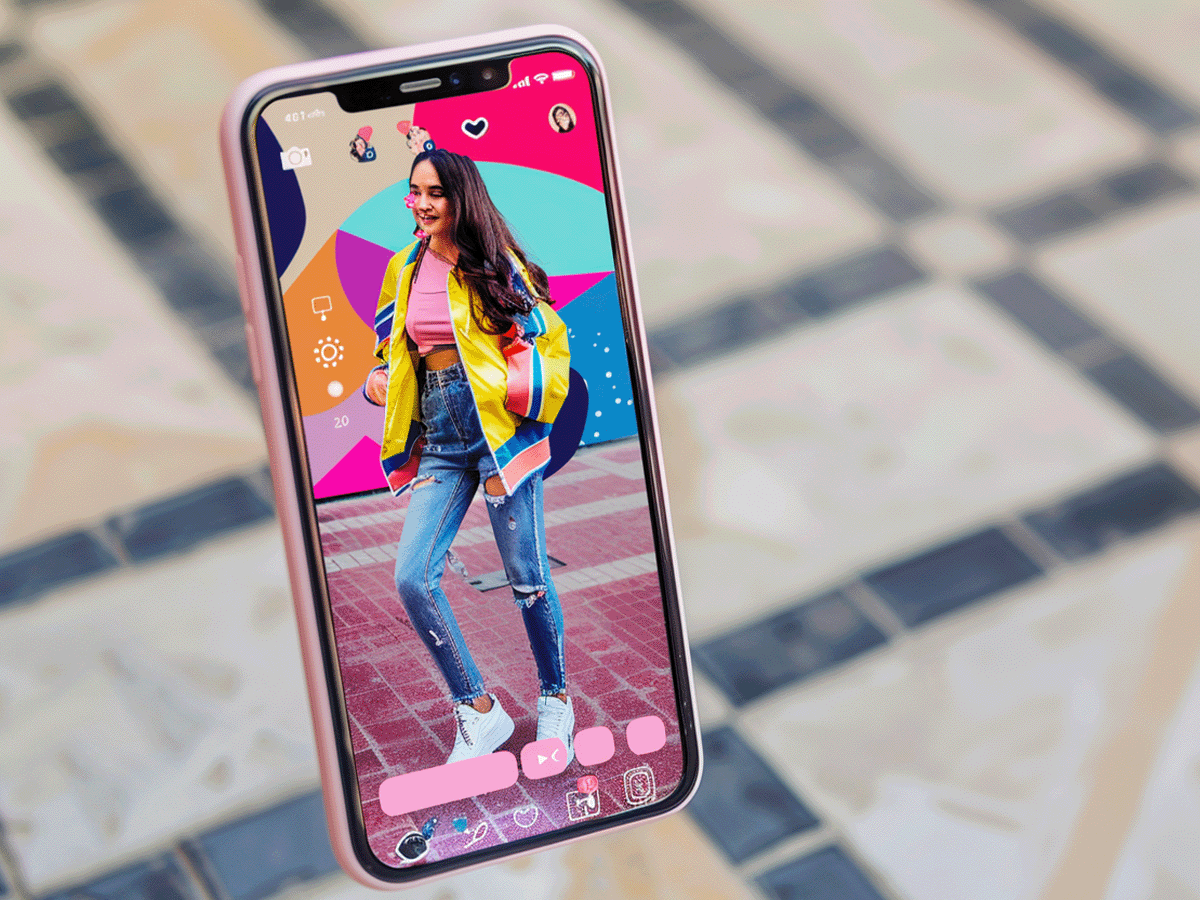
- Text and Stickers: Add explanatory text and stickers to make your Reels more interactive.
- Filters and Effects: Use them sparingly to enhance visual appeal.
Recommendations:
- Use branded fonts: This helps maintain brand recognition.
- Experiment with text animations: This adds dynamism to your Reels.
Step 7: Publishing and Analysis
- Publishing Time: Determine the optimal time for posting when your audience is most active.
- Analysis: After posting, track metrics (views, interactions) and analyze what works best.
Recommendations:
- Use Instagram analytics: This helps you understand which Reels attract the most attention.
- Conduct A/B testing: Experiment with different content and posting times to find the best solutions.
Conclusion
Interested in professional support? Our team at DigitalGenius Marketing specializes in digital marketing strategies and e-commerce. Contact us today to learn how we can help you improve your social media presence and boost your business results!


